How to Test a Used Lens for Sharpness & Optical Issues
Buying a used lens can be a great way to save money, but it’s essential to test it properly to ensure you’re getting a good deal. A lens may look fine on the outside but could have hidden defects affecting image quality. Here’s a step-by-step guide to testing a used lens before you buy.
1. Inspect the Lens Exterior
Start with a visual inspection of the lens body. Look for scratches, dents, or signs of impact. Check the lens mount for wear or damage. Test the focus and zoom rings – they should move smoothly without resistance or grinding. Ensure the aperture ring (if present) clicks properly and isn’t loose.
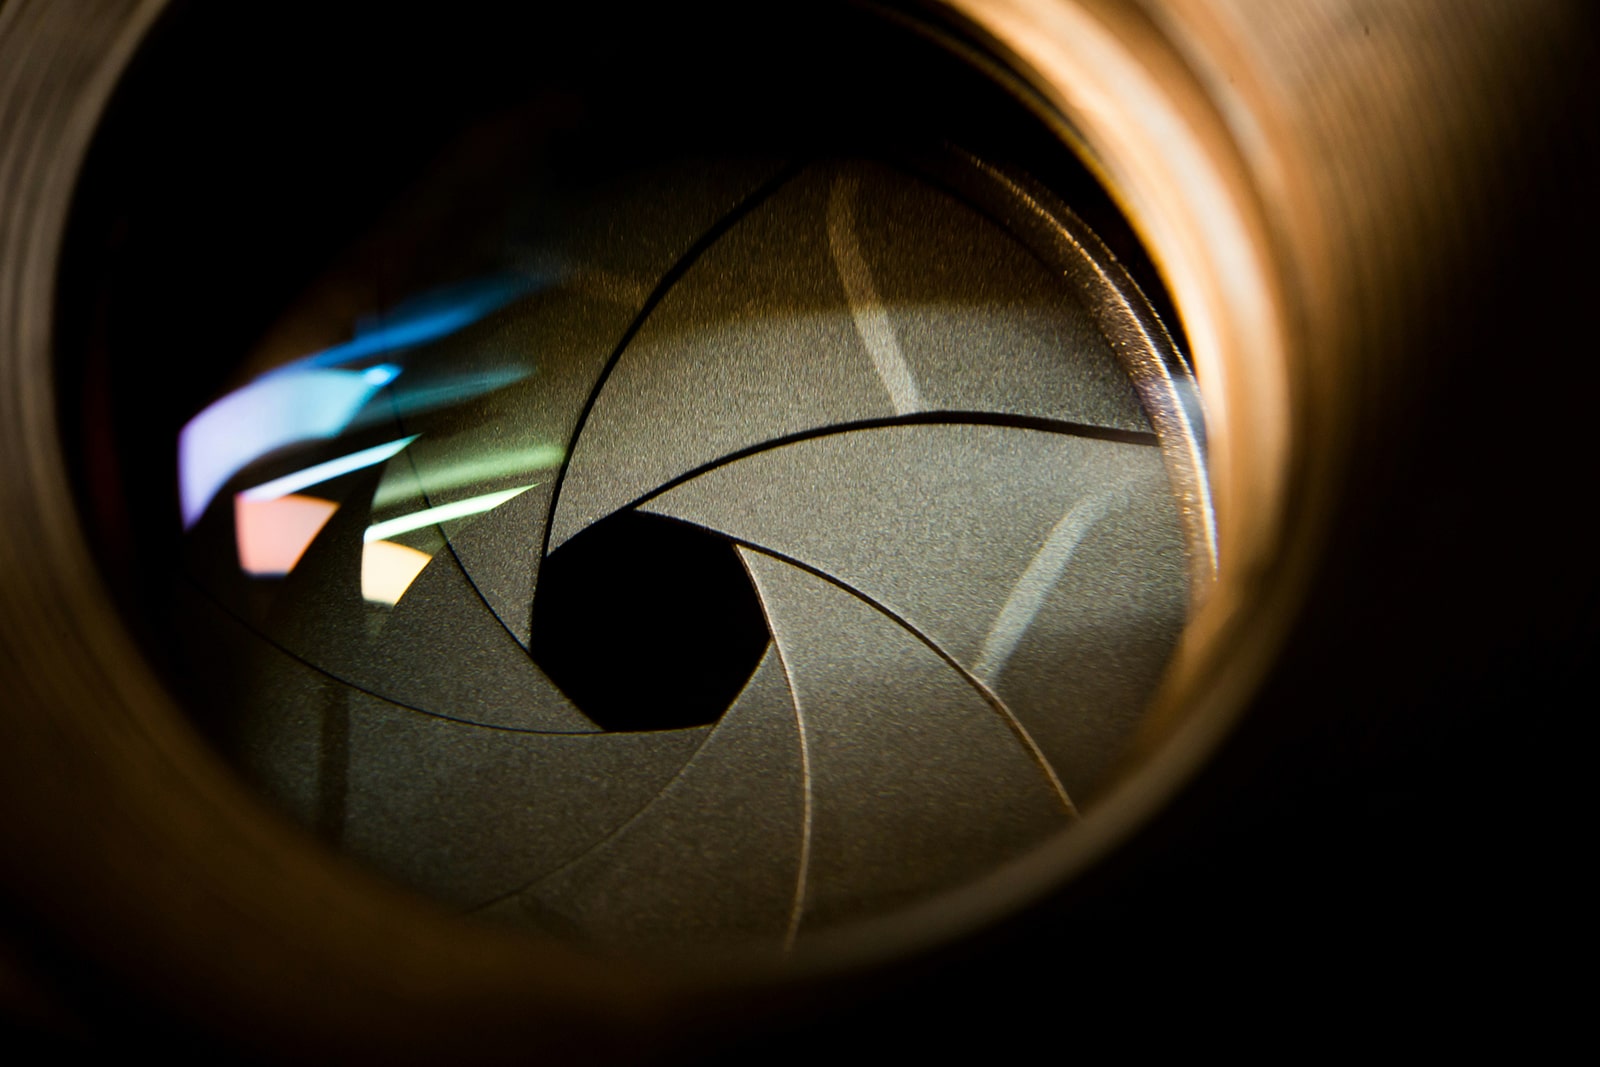
2. Check the Glass Elements
Carefully examine the front and rear elements for any defects. Hold the lens up to a light source to check for scratches or coating damage. Look for internal dust, haze, or fungus—these can affect image quality. Minor dust is normal in used lenses, but excessive dust or haze could be a red flag. Use a flashlight to check for fungus, which looks like web-like patterns inside the lens.
3. Test Autofocus & Manual Focus
Mount the lens on a compatible camera body to test focusing performance. Ensure autofocus locks onto subjects quickly and accurately. Switch to manual focus and rotate the focus ring to check for smooth movement. Test focus in different lighting conditions to check for hunting or misalignment.
5. Test for Image Stabilization (If Applicable)
If the lens has built-in stabilization (IS, VR, OSS, or IBIS support), ensure it works correctly. Take handheld shots at slower shutter speeds and check if stabilization helps reduce blur. Listen for any unusual noises—grinding or rattling sounds can indicate a problem.
6. Check for Lens Flare & Ghosting
Some used lenses may develop coating issues leading to excessive flare. Shoot a bright light source (e.g., the sun or a lamp) to check for unwanted flares or ghosting. A small amount of flare is normal, but extreme flare could mean the coatings are damaged.
7. Verify Compatibility & Electronics
Ensure the lens communicates correctly with the camera body. Aperture, autofocus, and EXIF data should display properly. Test different focus modes (single, continuous, and manual override) to ensure functionality. Check for firmware updates that may improve lens performance.
Cover photo by Wan San Yip (unsplash)