How to Use an ND Filter for Long Exposure Photography
Neutral Density (ND) filters are essential tools for photographers looking to achieve stunning long exposure shots. Whether capturing silky waterfalls, dreamy seascapes, or streaking clouds, ND filters allow for greater control over shutter speed and exposure. This guide will walk you through everything you need to know about using an ND filter for long exposure photography.
What is an ND Filter?
An ND filter is a darkened piece of glass or resin that reduces the amount of light entering the camera lens. This reduction enables longer shutter speeds or wider apertures without overexposing the image. ND filters come in different strengths, measured in stops, which indicate how much light they block.
Common ND filter strengths include:
-
ND2 (1 stop) – Cuts light by 50%
-
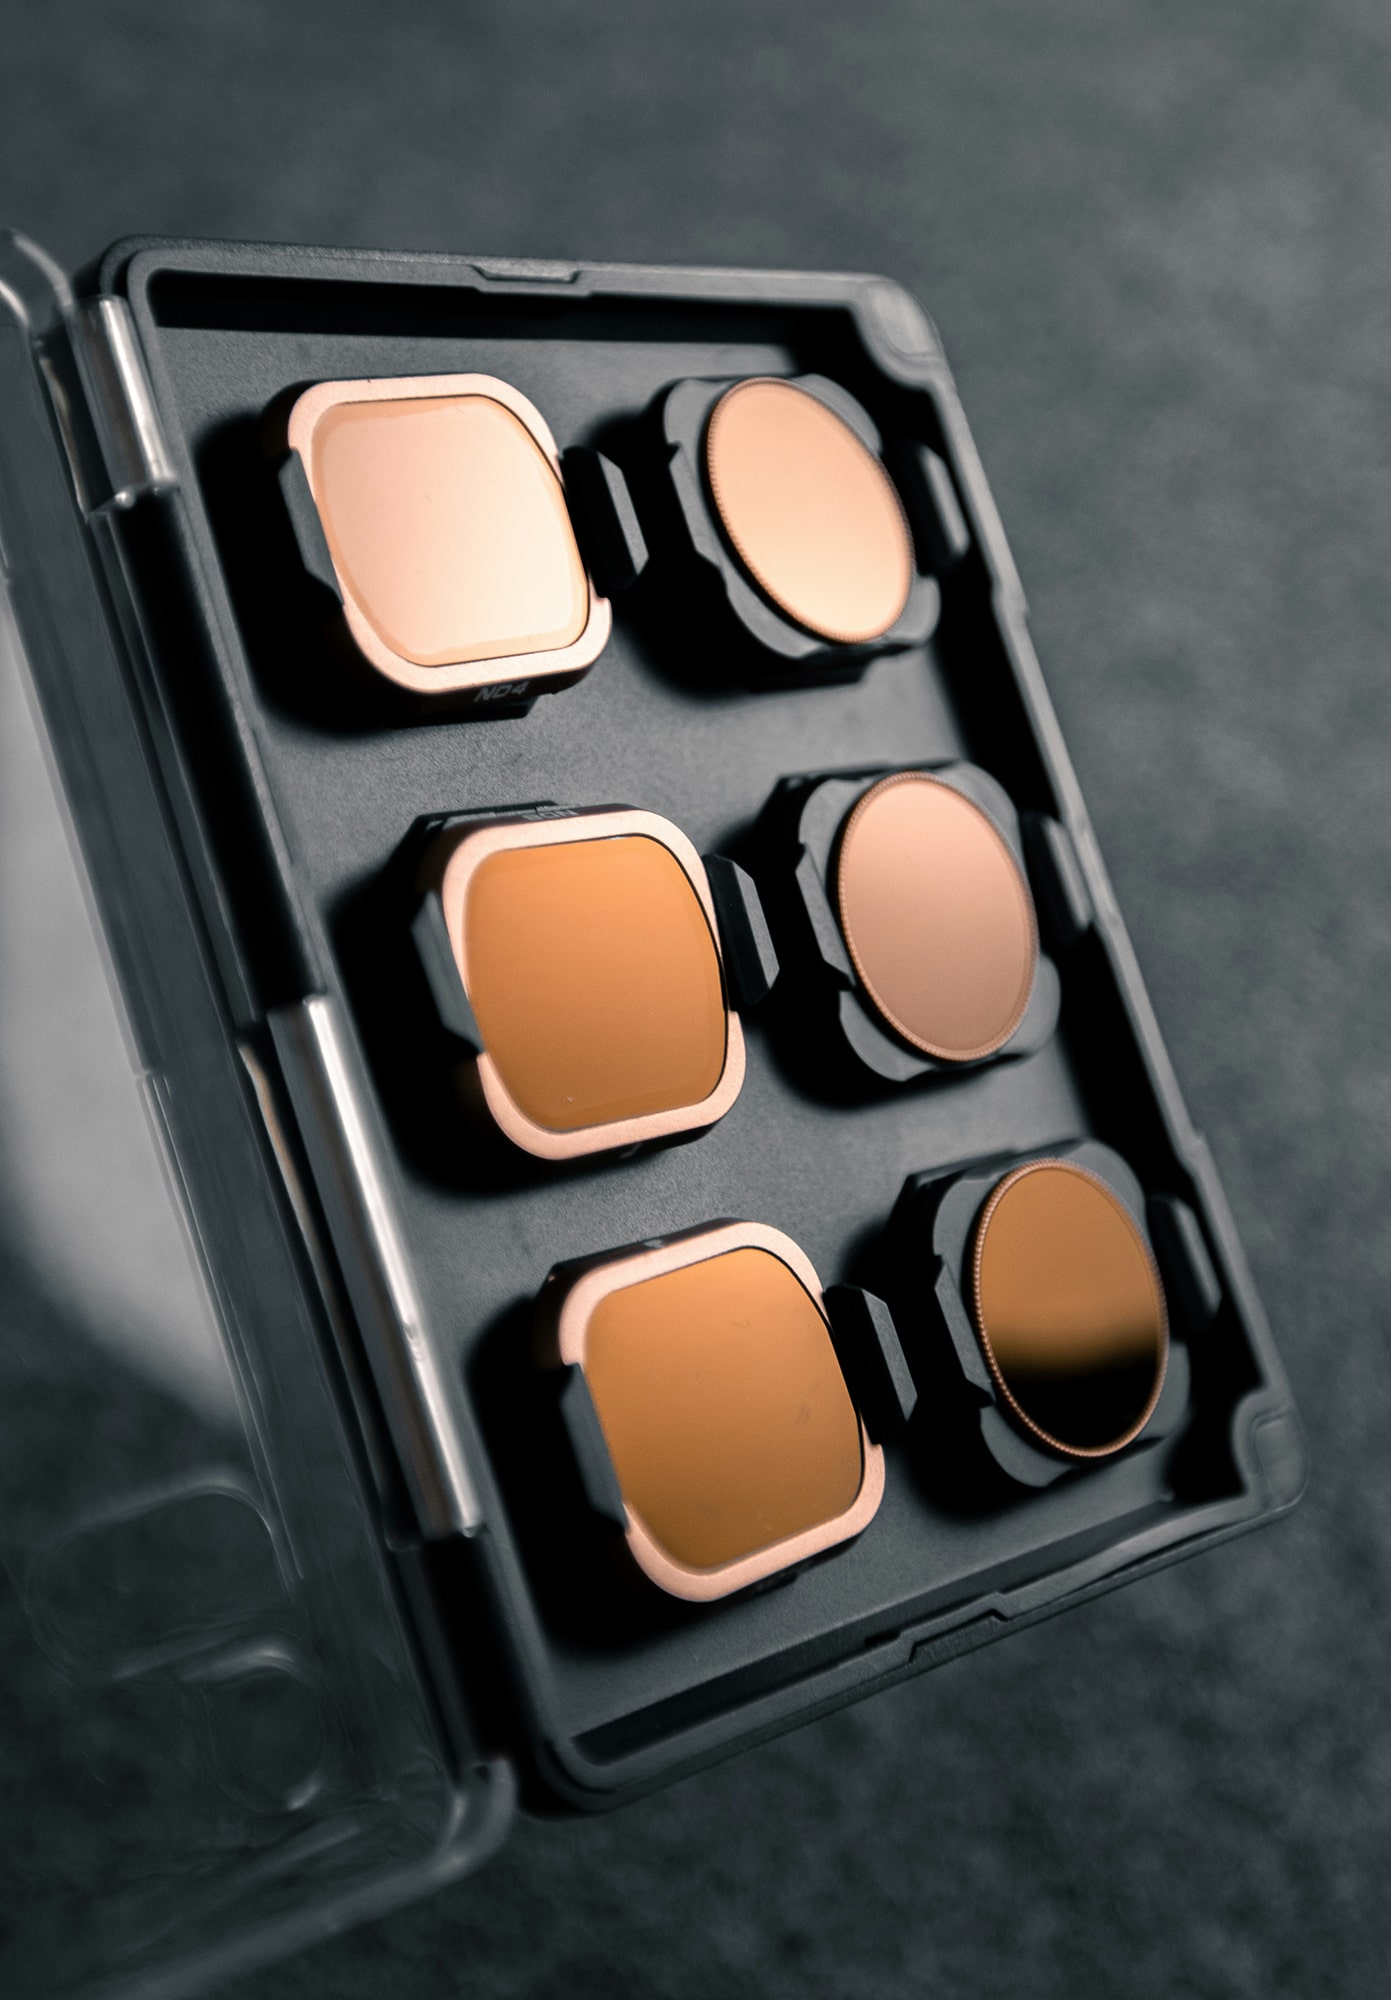
ND4 (2 stops) – Cuts light by 75%
-
ND8 (3 stops) – Cuts light by 87.5%
-
ND64 (6 stops) – Useful for moderate long exposures
-
ND1000 (10 stops) – Ideal for extreme long exposure photography
Why Use an ND Filter for Long Exposures?
Long exposure photography requires slow shutter speeds to create motion blur effects. However, in bright conditions, reducing shutter speed can lead to overexposure. An ND filter helps by blocking excess light, allowing for slower shutter speeds while maintaining proper exposure.
How to Use an ND Filter for Long Exposure Photography
1. Choose the Right ND Filter
Select an ND filter based on your shooting conditions. If you’re photographing a bright midday scene, a 10-stop ND filter (ND1000) may be necessary. For sunrise or sunset, a 6-stop ND filter (ND64) might be sufficient.
2. Set Up Your Camera
-
Use a tripod to keep the camera stable and avoid unwanted blur.
-
Switch to manual mode for full control over settings.
-
Use a remote shutter release or a timer to prevent camera shake.
3. Compose and Focus Before Adding the ND Filter
ND filters, especially strong ones, significantly darken the viewfinder or screen, making it difficult to see through the lens. To avoid focusing issues:
-
Compose your shot without the filter.
-
Use autofocus or manually focus on your subject.
-
Switch to manual focus to lock it in place before attaching the filter.
4. Adjust Exposure Settings
Once the ND filter is in place, adjust your settings to compensate for the reduced light:
-
Shutter Speed: Slow it down to create the desired motion blur effect.
-
Aperture: Use a smaller aperture (higher f-number) if additional exposure control is needed.
-
ISO: Keep it at the lowest setting (e.g., ISO 100) to minimize noise.
5. Use a Long Exposure Calculator
To determine the correct shutter speed, use an ND filter calculator app or refer to an exposure chart. For example, if your normal shutter speed is 1/60s and you apply a 10-stop ND filter, your new shutter speed would be approximately 15 seconds.
6. Capture and Review the Shot
Take a test shot and review the exposure. If it’s too dark or bright, adjust the shutter speed or aperture accordingly. Some cameras have exposure simulation features that help preview the final result.
Best Subjects for ND Filter Long Exposures
-
Waterfalls and Rivers – Creates a smooth, flowing effect.
-
Cloudscapes – Produces streaked, dramatic skies.
-
Cityscapes – Removes moving objects and blurs car lights for creative light trails.
-
Seascapes – Turns waves into a misty, dreamlike surface.
Final Tips for ND Filter Photography
-
Always carry multiple ND filters to adapt to different lighting conditions.
-
Consider using a variable ND filter for greater flexibility.
-
Cover the viewfinder to prevent unwanted light leaks during long exposures.
-
Shoot in RAW format for better post-processing flexibility.
Cover photo by Raphael Peillon (unsplash).